

A renovation usually looks simple on a project plan. First come the repairs. Then the flooring, cabinets, and other work. Painting gets added somewhere in the middle. However, after removing the furniture and exposing the walls, the room will reveal a completely different tale.
There may be old picture holes behind a sofa. A patch near the window might still be uneven. The kitchen wall may have years of cooking residue on it. The skirting boards may have small dents that were hidden by furniture. None of these problems is unusual. They do need attention before fresh paint goes on.
Professional Auckland painters are aware that the majority of what it takes for a quality paint job is done before touching the wall with the roller. Preparation work in the room can actually prevent problems from occurring later on. Here are five practical things to sort out before painting starts.
1. Empty the Room and See What You’re Really Working With
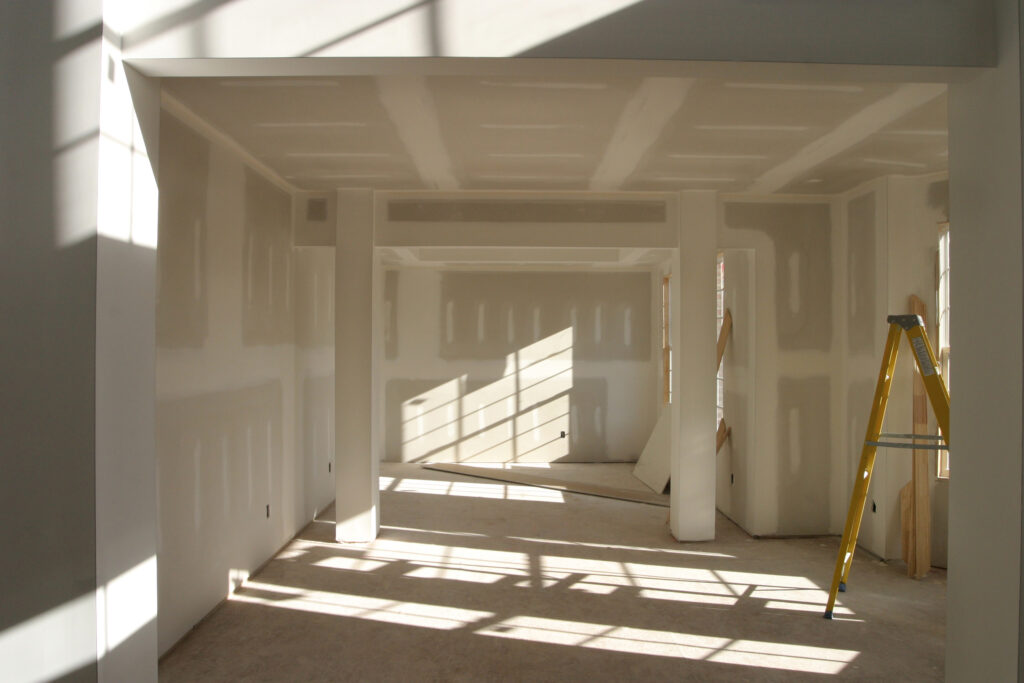
Furniture can hide a surprising amount. A sofa may cover marks on the lower wall. A bookshelf can hide old holes. Curtains can conceal damaged areas around windows. Once everything is moved, walk around the room slowly. Look at the walls from different angles. Check the corners. Look around power points, doors and windows. Run a hand over areas that look suspicious. The aim isn’t to find fault with every inch of the room. It’s to spot the things that will still be visible after painting.
Small nail holes are easy to deal with. A larger damaged section may need more work. Peeling paint needs to come away before a new coating is applied. This is also the right time to look at the trim. Skirting boards often collect knocks from vacuum cleaners and furniture. Door frames can have several old layers of paint around the edges. Once the room is empty, these details are much easier to see.
2. Don’t Let Fresh Paint Cover an Old Problem
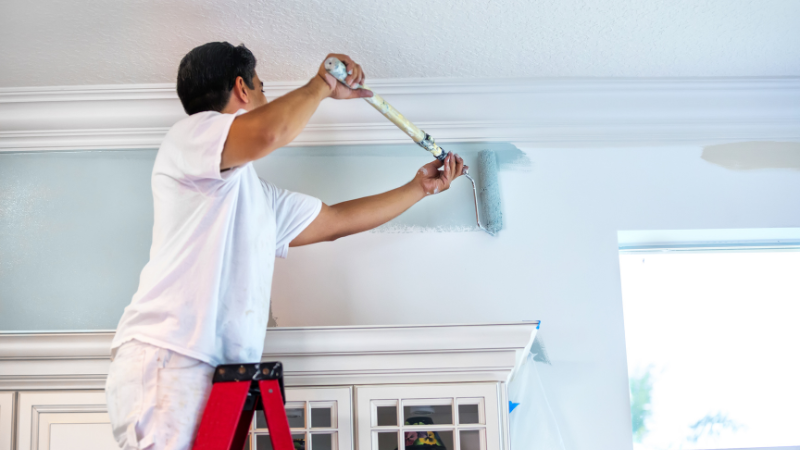
A new coat can make a wall look better, but it can’t repair everything underneath. This is particularly true with cracks and stains. A small surface mark may only need filling and sanding. A recurring crack is different. If it keeps coming back, there may be movement or another issue that needs checking.
Water marks need more attention. Painting over a leaky spot may make the mark disappear for a period, but it will not address why the mark is there in the first place. The cause of the moisture must be addressed before anything else.
The same principle applies to loose paint. Scraping over a peeling section and immediately painting it can leave an obvious edge under the new coating. The loose material should be removed and the surface prepared properly. This is one of the reasons experienced Auckland painters look at the condition of the wall before discussing the final number of coats. The surface sets the starting point.
3. Clean the Walls Before You Worry About Colour

Paint needs a clean surface. That sounds obvious, yet cleaning is often rushed because it isn’t the most exciting part of a renovation.
Kitchens are a good example. Grease and cooking residue can settle on walls, especially around cooking areas. A wall may look clean from across the room but still have a film on the surface. Hallways have their own problems. Hand marks build up around switches and doorways. Dust settles along skirting boards. Furniture can leave darker patches on walls. If dirt remains underneath the new coating, the finish may not look as even as expected.
The cleaning method depends on the surface and the type of dirt. Some walls only need a light clean. Others need more attention before sanding or priming. After washing, give the surface enough time to dry. Painting a damp wall because the renovation schedule is running late isn’t a shortcut worth taking. Auckland painters often pay close attention to this step, because a properly cleaned surface helps the final finish look sharper and last longer.
4. Finish the Messy Work Before the Final Coat
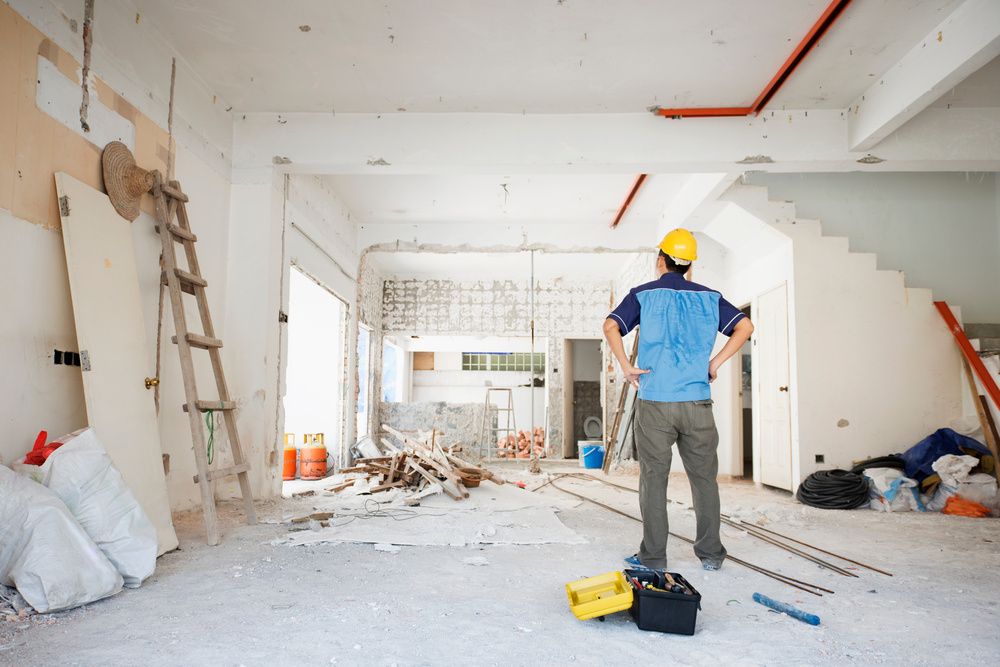
Painting doesn’t always belong at the beginning of a renovation. There are usually other trades involved. An electrician may need to cut into a wall. A plasterer may need to repair a section. Flooring installers can create dust. Cabinet work can involve drilling and cutting. If the final paint coat goes on too early, another trade can undo the work.
A sensible order is to get the dusty and damaging jobs finished before the final paintwork. That doesn’t mean every painting task must wait until the very end. The exact order depends on the renovation. For example, some areas may be primed before cabinets are installed, while final wall coats can follow later. The important thing is to know which work could damage the finished surface.
Talk to the trades involved before setting the painting date. A ten-minute conversation can prevent days of unnecessary touch-ups. Auckland painters often plan around the order of trades, because doing the final coat too early can mean extra touch-ups later.
5. Choose the Paint After You Understand the Room

Colour is usually the part homeowners enjoy most. There’s nothing wrong with that. But choosing a shade before looking at the rest of the room can lead to problems. The flooring isn’t changing. Neither are the kitchen cabinets, curtains, timber doors or furniture unless those are part of the renovation. All of these features affect the way a colour looks.
A warm timber floor can make a white wall feel warmer. Dark cabinetry can change the way a pale colour is perceived. Strong existing colours may affect what works beside them. The paint finish also deserves some thought. A hallway may need a finish that can handle regular cleaning. A bedroom has different needs. Doors and trim receive plenty of handling and may need a more suitable coating.
The surface condition matters here too. A shiny finish can draw attention to dents and uneven repairs. If the wall isn’t properly prepared, changing the sheen won’t fix it. Good Auckland painters consider the surface, room, and intended use before recommending a finish.
What About Primer?
Primer isn’t something every wall automatically needs. It is all dependent on what is underneath. Bare spots, certain types of repair work, stains, and certain existing paint may require an appropriate primer before painting is done.
For instance, a patched spot will take paint differently from the rest of the wall. This will leave that spot clearly visible despite multiple layers of paint. Primer can help create a more consistent base in situations where it is needed. But there is little point adding unnecessary steps to a wall that is already sound and properly prepared.
The right question isn’t, “Does every wall need primer?” It’s, “What does this particular surface need before painting?”
Give Repairs Time to Set
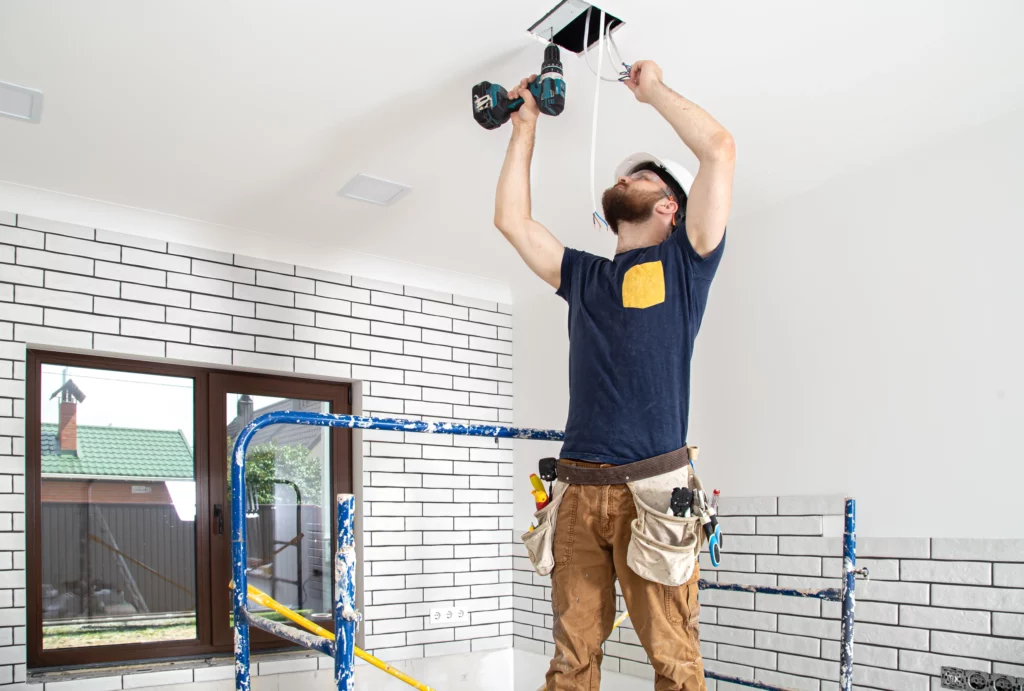
Renovations often run against a deadline. The flooring is booked. The kitchen installer is waiting. Furniture needs to come back into the house. That pressure can make drying times feel inconvenient.
However, filler, primer, and paint should be allowed sufficient drying time as per product instructions. If the filler is sanded too soon, then the repair could fall apart or become uneven. In the case of painting being done before the previous coat of paint dries sufficiently, then the final finish may get compromised. Don’t base your judgment just on whether it feels dry when you touch it.
Check the product instructions and follow them. A little patience in the preparation process can save you much effort on sanding and touching up afterward. Auckland painters know that deadlines can tempt you to rush drying times, but letting each coat cure properly helps protect the final finish.
Where Should the Renovation Painting Budget Be Spent?
Not every wall needs the same amount of effort. This is especially useful when the renovation budget is tight.
- Start with the surfaces that are actually causing a problem.
- A damaged hallway may deserve attention before a spare bedroom with perfectly sound paint.
- A peeling window frame needs more urgent work than a wall with a colour you simply don’t like anymore.
- A kitchen with sound cabinets may be a candidate for repainting rather than replacement.
Make a short list:
- Fix first: damaged surfaces, peeling paint, moisture issues, and poor repairs.
- Consider painting: heavily marked walls, dated trim, and areas that receive constant use.
- Leave alone: clean surfaces that are still in good condition.
- This approach keeps the renovation focused.
It also prevents the common situation where a small painting job slowly turns into a full-house repaint without a clear reason.
When Should You Bring in a Professional Painter?
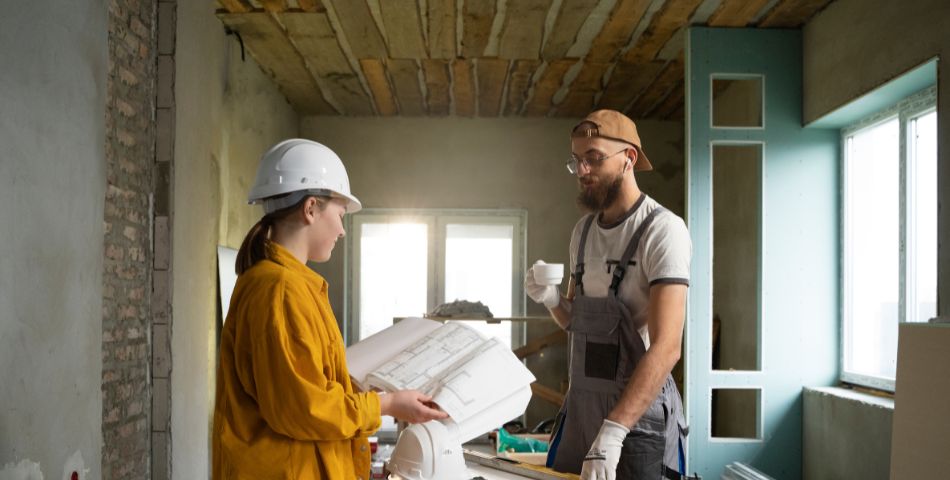
There are plenty of small jobs a homeowner can tackle. Painting one bedroom with smooth walls is very different from preparing an entire house during a renovation.
The job becomes more demanding when there are:
- High ceilings
- Several rooms
- Old plaster
- Peeling coatings
- Large wall repairs
- Detailed timber trim
- Kitchen cabinets
- Multiple paint finishes
- Several trades working at the same time
Professional Auckland painters can assess the surfaces before work starts and identify preparation that might otherwise be missed. That can make the quote more accurate too. Instead of simply charging by the number of rooms, the painter can account for repairs, preparation, access and the type of finish required.
A Simple Pre-Paint Check
Before painting begins, walk through the property one more time.
Check that:
- Furniture has been moved or covered
- Floors are protected
- Loose paint has been removed
- Walls have been cleaned
- Repairs have dried
- Cracks have been checked
- Water stains have been investigated
- Trim has been inspected
- Primer has been used where needed
- Dusty renovation work is finished
- Paint colour and finish have been confirmed
It takes only a few minutes. It can also catch something that would otherwise become a problem once the first coat is already on the wall.
The Best Painting Jobs Start Before the Paint

A clean finish doesn’t begin with a roller. It begins with a wall that’s ready for paint. That means finding the dents, cleaning away grime, dealing with failed coatings, and making sure other renovation work won’t damage the finished surface. Colour comes after that.
For larger renovation projects, experienced Auckland painters can take care of the preparation and painting while making sure the work fits around the rest of the renovation schedule. The result should be straightforward. Walls that look clean. Repairs that don’t jump out at you. Trim that looks cared for. And a paint finish that doesn’t need fixing again a few weeks later.
Need Professional Painting Help?
For renovations that encompass a number of rooms, where there is damage on surfaces, ceilings, doors, or even preparation, assistance is recommended. A painting service should include everything before the finish is painted. This includes preparation, repairs, sanding, priming, painting, and protection of the surrounding areas. For Auckland homeowners looking for professional painting support, RNF Construction provides interior painting services and can assess the property before work begins.
You can contact RNF Constructionto discuss your renovation painting requirements and request a quote.
FAQs
At what stage should the painting be planned in a renovation process?
The planning for painting should be done before the completion of the renovation process. If there is still work like plastering, wiring, laying of floors, or installation of cabinets, then enough time should be left to complete that first.
Do walls always need to be sanded before painting?
No. A smooth wall with sound existing paint may need only light preparation. Rough repairs, peeling paint, damaged areas and uneven surfaces require more sanding to create a suitable base.
Can a water stain simply be covered with paint?
Not if the moisture problem is still active. The source should be identified and fixed first. Once the surface is dry and properly prepared, the stained area can be treated and painted.
Is primer needed after filling wall holes?
Often, the repaired area may need priming because filler can absorb paint differently from the surrounding surface. The exact preparation depends on the repair material and the existing wall coating.
Should painting happen before new flooring?
The best order depends on the renovation. In many cases, final wall painting is completed before the finished flooring goes in, with suitable protection used where painting happens around existing floors.
How can homeowners reduce painting costs?
Focus spending on surfaces that are damaged or heavily worn. Simple tasks such as removing wall decorations, clearing furniture and keeping the work area accessible can also reduce preparation time.
What should be included in a painting quote?
Ask whether the quote includes preparation, filling, sanding, primer, number of coats, doors, trim, ceilings, floor protection, and clean-up. Clear details help prevent surprises once work starts.
Is professional painting worth it for a renovation?
For a small room, DIY may be practical. Larger renovations are different. Multiple rooms, damaged surfaces, high ceilings, and coordination with other trades can make professional painting a much more manageable option.