Most paint jobs fail before the lid even comes off the tin. The prep is where it’s won or lost, and it’s also the part that gets skipped, rushed, or done half-heartedly more than any other step.
People spend a lot of time thinking about colour. They agonise over swatches, test pots, lighting conditions. Then they slap it on walls that haven’t been properly prepared and wonder why the finish looks off, or why it starts peeling six months later.
Interior painting prep isn’t glamorous. Nobody’s going to post photos of their sanded walls on Instagram. But if you want a finish that actually holds up, especially in an Auckland home where humidity does its thing year-round, you need to get this right first.
Here’s what most people miss.
Why Interior Painting Prep Matters More Than the Paint Itself
A quality paint applied over a poorly prepared surface will fail. A budget paint applied over a properly prepared surface will outlast it every time. I’ve seen this play out so many times it’s not even worth debating.
Prep creates the foundation. It removes the things that break adhesion, fills the things that show through, and gives the paint something solid to grip onto. Skip it, and you’re essentially building on sand.
QUICK ANSWER
Interior painting prep is the process of cleaning, repairing, sanding, and priming walls before paint is applied. Done properly, it’s what separates a finish that lasts years from one that starts peeling within months.
What Most People Skip: Cleaning the Walls
Walls look clean. They’re usually not. Dust settles on every surface, kitchens build up a film of grease you can’t always see, and bathrooms collect soap residue and mould spores. Paint applied over any of this won’t bond properly.
Wipe down every wall before you do anything else. Sugar soap is the go-to, and for good reason. It cuts through grease and grime without leaving a residue that interferes with adhesion. Rinse it off, let the walls dry fully, and then move on.
In kitchens especially, this step makes a real difference. I’ve seen fresh paint slide off kitchen walls within a year because the surface wasn’t degreased properly before painting. It’s a frustrating and completely avoidable problem.
How to Handle Cracks, Holes and Surface Damage
New paint highlights every imperfection on a wall. That hairline crack you’ve been ignoring becomes very obvious once there’s a fresh coat over it. The time to deal with it is before you paint, not after.
Small hairline cracks can be filled with a flexible filler and sanded smooth. Larger cracks, anything wider than a few millimetres, usually point to movement in the building and need to be assessed properly before filling. In older Auckland villas especially, settling and movement are common, and just filling cracks without understanding why they’re there can mean they come back quickly.
For holes from screws, hooks, or damage, use a lightweight filler, let it dry completely, then sand it back flush. It’s worth doing two thin coats of filler on deeper holes rather than one thick one, as thick filler tends to shrink as it dries and you end up with a slight depression in the wall.
TRADE TIP
Run a lamp or torch along the wall at a low angle after filling and sanding. The raking light shows up any uneven patches or missed spots that you’d never catch under normal overhead lighting. Fix them now, not after the paint goes on.
Why Sanding Is Non-Negotiable
Sanding does two things. It smooths out the surface and it creates a mechanical key for the paint to grip. On walls with existing paint, especially anything glossy, paint struggles to bond without it.
You don’t need to sand the entire wall back to bare plaster in most cases. A light scuff sand with 120-grit is enough to dull the sheen on glossy surfaces and give the new paint something to hold onto. Around filled patches, sand those areas smooth and feather the edges into the surrounding wall so there’s no obvious step.
Wipe down the dust after sanding. All of it. A damp cloth works, or a tack cloth if you’re being thorough. Painting over sanding dust is one of the most common causes of a rough, gritty finish.
The Role of Primer in Interior Painting Prep
Primer gets treated as optional by a lot of DIYers. It isn’t. And using paint-and-primer-in-one products as a substitute is not the same thing, regardless of what the label says.
Proper primer seals the surface, evens out porosity, and gives the topcoat a consistent base to sit on. On new plaster or repaired areas, unprimed surfaces absorb paint unevenly, which shows up as patchy, dull spots in the finished coat, no matter how many times you go over them.
-
- New plaster or fresh repairs: always prime, no exceptions
- Bare timber: use a wood primer to seal the grain and prevent tannin bleed
- Previously painted walls in good condition: spot-prime repaired areas at minimum
- Walls with staining or water marks: use a stain-blocking primer or the marks will bleed through
- Switching from dark to light colours: a tinted primer saves you coats and money
Get the primer right and the topcoat goes on smoother, covers better, and lasts longer. It’s not an optional extra.
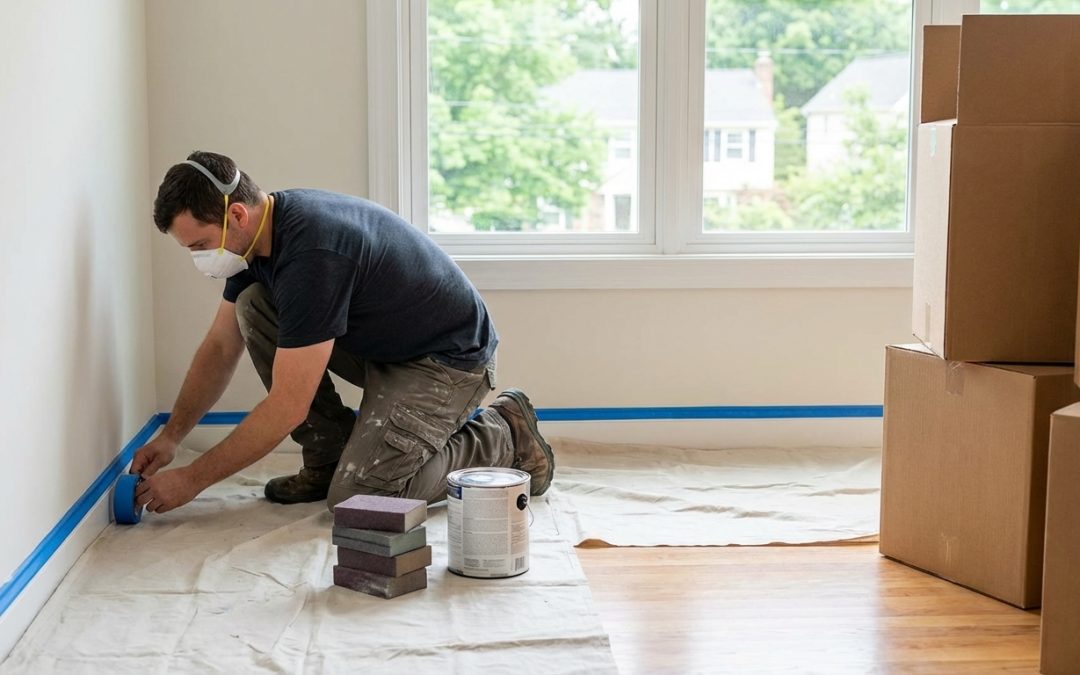
Protecting What Isn’t Being Painted
This sounds basic, but it’s where a lot of prep time goes. Cutting in neatly around edges, skirtings, and door frames takes patience. Doing it properly is what separates a professional-looking job from one that looks rushed.
Use quality masking tape and press the edges down firmly so paint can’t bleed underneath. Remove it while the paint is still slightly tacky, not fully dry, to get a clean edge without peeling. If you wait until the paint is fully cured, the tape can pull the paint off with it.
Cover floors and furniture properly. Dust sheets are fine for furniture, but on hard floors, use something that won’t let paint seep through. A thin drop cloth over a timber floor is not enough protection if a tin tips over.
What Happens When You Skip the Prep
The finish looks fine for a while. That’s the thing. You can get away with poor prep for a few months, sometimes longer, before the problems show up. Then they all show up at once.
Bubbling and peeling: paint that wasn’t bonded properly starts lifting, usually in areas with moisture or temperature changes.
Visible cracks and patches: unfilled imperfections telegraph straight through the paint once the light hits the wall at an angle.
Uneven sheen: unprimed patches absorb paint differently, leaving dull spots in an otherwise glossy finish.
Bleed-through: stains, water marks, or tannins from timber push through the topcoat within weeks.
None of these are easy fixes after the fact. They usually mean stripping back and starting over, which costs more time and money than doing the prep right the first time.
How Long Should Interior Painting Prep Actually Take?
Longer than most people budget for. As a rough guide, prep should take at least as long as the painting itself, often longer on older homes or walls in poor condition.
A standard bedroom with walls in reasonable condition might need half a day of prep before a brush goes near it. A kitchen, a bathroom, or a room with significant damage could easily take a full day or more. Rushing this to get to the painting is where most DIY jobs come unstuck.
REAL-WORLD OBSERVATION
In 15 years of painting Auckland homes, the jobs that come back with problems are almost never about the paint itself. They’re always about what happened before it. A room that was prepped properly the first time rarely needs attention for years. One that wasn’t usually has issues within twelve months.
Interior painting prep isn’t the exciting part. But it’s the part that determines whether a paint job looks good in five years or falls apart in five months. Take your time with it, don’t cut corners on the filler or the primer, and clean the walls properly before anything else.
If you’re in Auckland and the walls are in rough shape, or you just want it done right the first time, that’s exactly what we do.
FAQ
Q: Do I need to sand all walls before painting?
Ans: Not always. Light sanding is enough to dull glossy surfaces and smooth repaired areas. Full sanding to bare plaster is usually only needed for badly damaged or uneven walls.
Q: Can I skip primer if I’m using paint-and-primer-in-one?
Ans: It’s not recommended. Standard primer ensures proper adhesion, evens porosity, and prevents stains from showing through. Paint-and-primer products may not perform as well on repairs, new plaster, or bare timber. (Source: Paint and Primer in One vs. Separate)
Q: How long does prep take compared to painting?
Ans: Prep often takes as long or longer than painting itself. A standard bedroom might need half a day, while kitchens, bathrooms, or heavily damaged walls could require a full day or more.