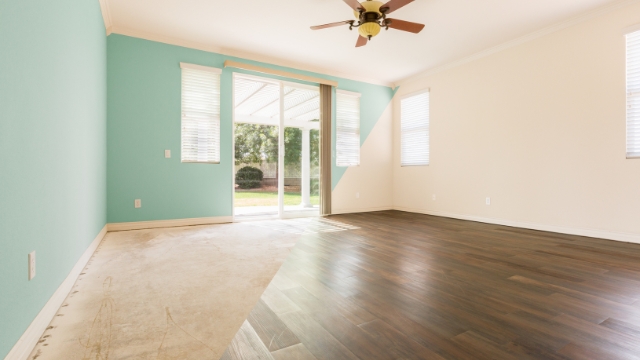
Interior painting inside your home can make it look new. However, mistakes can cause stress and incur extra costs. Not preparing adequately or using poor tools can ruin the paint. This may lead to uneven walls or peeling paint. These issues waste time and money, and it won’t look appealing. Avoiding these errors makes interior painting easier and results in a better finish. RNF Construction, with extensive experience, shares tips to help you paint effectively and avoid common mistakes.
Preparation Mistakes in Interior Painting
Skipping prep work
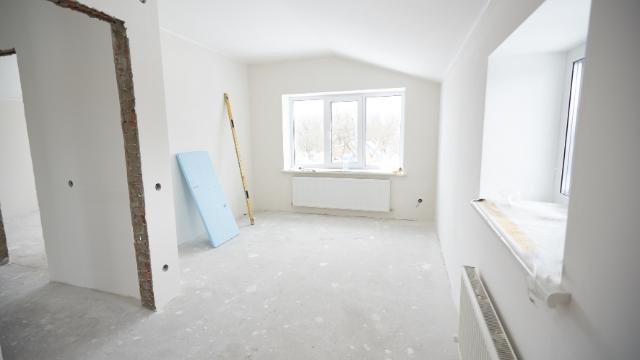
Getting ready is key for a good painting job. Skipping it often leads to bad results. You might want to start painting right away, but this can cause patchy walls or peeling paint. Preparing properly helps the paint stick better and last longer.
Move furniture out or cover it with cloths. Protect floors and edges with tape. If you skip this, you might damage items or make a big mess. Cleaning up later will take much longer. Preparing well saves time and gives a neat finish.
Tip: Always spend time on prep work before painting. It helps you avoid interior painting mistakes and get great results.
Not using primer
Primer is very important for painting indoors. It makes the surface smooth and helps the paint stick. Skipping primer can cause uneven paint, especially on dark or rough walls.
Primer also reduces how much paint you need. Without it, you might use too many coats, wasting time and money. Pick the right primer for your wall. For example, use stain-blocking primer for marked walls or bonding primer for shiny surfaces.
Note: If painting light over dark, primer stops the old colour from showing.
Failing to clean surfaces
Dirty walls can ruin your painting work. Dust and grease stop paint from sticking, causing patchy or peeling paint. Clean all walls before painting. Use soapy water to remove dirt, and let them dry fully.
Focus on places like kitchens and bathrooms where grease builds up. Skipping this step can make your paint job less durable. Clean walls help the paint stick and look smooth.
Reminder: Check walls for dirt before painting. Clean walls give a better and longer-lasting finish.
Ignoring repairs like cracks and holes
Not fixing cracks or holes can ruin your paint job. These small flaws may seem unimportant but show more after painting. Fixing them first gives a smooth and neat finish.
Check your walls closely for cracks, dents, or nail holes. Use filler or paste to fix these spots. Spread it with a putty knife to make it even. Let it dry, then sand it smooth for painting. Skipping this step leaves bumpy textures that look bad under fresh paint.
Tip: For big cracks, use fibreglass mesh tape before filler. This makes it stronger and stops cracks from coming back.
Leaving cracks can also harm your paint’s durability. Moisture can get in, causing peeling or bubbles later. Fixing these problems protects your walls and makes the paint last longer.
If the damage is too much, ask for expert help. Professionals like RNF Construction can assist or do the repairs for you. Fixing cracks and holes is key to perfect interior painting results.
Tool and Material Mistakes in Interior Painting
Using the wrong type of paint
Picking the wrong paint can give bad results. Different paints are made for specific uses. For instance, matte paint is good for ceilings or quiet areas. Satin or semi-gloss works better for busy spaces like hallways. Using the wrong one may not last or look nice.
Think about the room’s conditions too. Kitchens and bathrooms need paint that resists moisture. This stops peeling or mould from forming. Always read the label to check if the paint fits your needs.
Tip: Try a small area first before painting a big space. This ensures the paint is right for your room.
Choosing unsuitable brushes or rollers
The tools you pick affect how your painting turns out. Wrong brushes or rollers can leave streaks or waste paint. Foam rollers are best for smooth walls. Thicker rollers work well on bumpy surfaces.
Brushes also have different uses. Synthetic brushes are great for water-based paints. Natural bristles are better for oil-based paints. Picking the right tool makes painting easier and looks more professional.
Reminder: Buy different brushes and rollers for various surfaces.
Not investing in quality tools
Cheap tools might save money but cause problems. Poor brushes lose bristles, and weak rollers spread paint unevenly. These issues can ruin your work and waste time.
Good tools last longer and make painting simpler. They give better control and a smoother finish. Spending more on good tools avoids costly mistakes later.
Note: Buying quality tools helps your painting project succeed.
Forgetting painter’s tape and drop cloths
Not using painter’s tape or drop cloths can cause a mess. These tools are important for keeping surfaces clean and neat. Without them, paint might spill on floors, furniture, or trims. Cleaning these spills can be hard and time-consuming.
Painter’s tape helps create straight, clean edges. It stops paint from spreading onto skirting boards, windows, or ceilings. Apply it carefully for a tidy finish. Take the tape off while the paint is still a bit wet. This avoids peeling off dried paint and keeps your work looking smooth.
Drop cloths shield your floors and furniture from spills and drips. Plastic sheets or canvas cloths work well for this. Canvas ones are better as they stay in place and soak up paint. Avoid newspapers because they tear easily and don’t cover properly.
Tip: Use painter’s tape to hold drop cloths steady while working.
Skipping these tools can make painting stressful. Paint stains on carpets or wood floors can be permanent. Cleaning them often takes longer than painting. Using painter’s tape and drop cloths keeps your area tidy. It also gives your work a professional look. These small steps make a big difference in the final result.
Application Mistakes in Interior Painting
Overbrushing or overloading the brush
Using too much paint on your brush or overbrushing can lead to uneven surfaces and visible streaks. When you overload the brush, excess paint drips and creates a messy finish. Overbrushing, on the other hand, happens when you repeatedly go over the same area. This can cause the paint to dry unevenly or leave marks.
To avoid this mistake, dip only the tip of your brush into the paint. Wipe off any excess on the edge of the can. Use smooth, even strokes to apply the paint. Avoid going back over areas that are already drying.
Tip: Work in small sections and focus on applying a thin, even coat. This ensures a smoother and more professional finish.
Not waiting between coats
Patience is key when it comes to interior painting. Applying a second coat before the first one dries can ruin your work. Wet paint underneath can mix with the new layer, leading to streaks, bubbles, or peeling.
Always check the drying time recommended on the paint can. Most paints need at least 2-4 hours to dry between coats. For humid or cold conditions, you may need to wait longer. Rushing this step can waste your effort and require you to repaint the entire surface.
Reminder: Allow each coat to dry completely before adding the next. This creates a durable and flawless finish.
Uneven lines and edges
Messy edges and uneven lines can make even the best paint job look unprofessional. This often happens when you skip painter’s tape or rush through the edges. Uneven lines are especially noticeable around trims, ceilings, and corners.
To fix this, use painter’s tape to mark off edges before you start. Press the tape down firmly to prevent paint from seeping underneath. Use a small, angled brush for precision in tight areas. Take your time and work carefully along the edges.
Tip: Remove the painter’s tape while the paint is still slightly wet. This prevents peeling and ensures clean, sharp lines.
By avoiding these common mistakes, you can achieve a polished and professional look for your interior painting project. Taking the time to apply paint correctly saves you from costly and time-consuming fixes later.
Overloading the roller with paint
Overloading your roller with paint can lead to a messy and uneven finish. When you apply too much paint at once, it often drips, creating streaks or splatters on your walls and floors. This mistake not only wastes paint but also makes the surface look unprofessional.
To avoid this issue, you need to load your roller correctly. Follow these steps for the best results:
- Dip the roller lightly into the paint tray. Avoid submerging it completely.
- Roll it back and forth on the tray’s ridged surface. This helps distribute the paint evenly across the roller.
- Check for drips before applying the roller to the wall. If you see excess paint, roll it on the tray again to remove it.
Tip: A properly loaded roller should look damp but not dripping. This ensures smooth application without wasting paint.
When you overload the roller, the paint often pools in certain areas, creating thick patches. These patches take longer to dry and may even crack or peel over time. By using the right amount of paint, you can achieve a consistent and even finish.
Another common mistake is pressing the roller too hard against the wall. This forces excess paint out of the roller, leading to uneven coverage. Instead, use light, steady pressure and let the roller do the work.
Reminder: Always start painting from the top of the wall and work your way down. This prevents drips from ruining areas you’ve already painted.
By mastering the technique of loading and using your roller, you can save time, reduce waste, and achieve a professional-quality finish. Small adjustments in your approach can make a big difference in the final result.
Environmental and Planning Mistakes in Interior Painting
Painting in bad conditions (e.g., humidity, temperature)
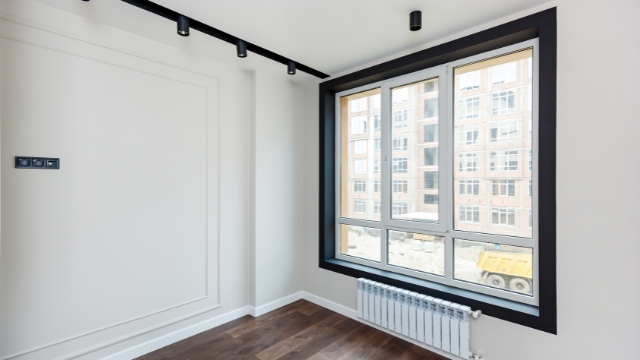
The environment affects how paint dries and looks. Painting in bad conditions, like high humidity or extreme temperatures, can ruin the finish. Humidity makes drying slow, leaving sticky and uneven surfaces. Cold air thickens paint, while heat dries it too fast, causing cracks or streaks.
Check the weather and room conditions before painting. The best temperature for painting is between 10°C and 30°C. Use a dehumidifier if it’s damp, or open windows for airflow. Avoid painting on rainy days or when it’s too cold or hot indoors.
Tip: Pick days with steady, mild weather for painting. This helps you get a smooth and lasting finish.
Picking the wrong colour or sheen
Choosing the wrong colour or sheen can make a room look odd. Colours that seem nice in the shop may look different at home. Sheen, which is the paint’s finish, also changes the look. Matte hides flaws but is harder to clean. Glossy is easy to clean but shows imperfections.
Think about the room’s use and lighting before deciding. For example, satin or semi-gloss works well in kitchens and bathrooms because they resist stains and moisture. Test colours in different lights to see how they look during the day.
Reminder: Choose both colour and sheen wisely to suit your room’s style and needs.
Skipping paint sample tests
Not testing paint samples can lead to regret. Paint often looks different on walls than on swatches. Things like lighting, wall texture, and nearby colours change its appearance. Without testing, you might pick a colour that doesn’t match your décor or feels too bright or dull.
Buy small paint samples and try them on your wall. Check how the colour looks in natural and artificial light. Test a few options to find the best one. This simple step saves money and ensures you’re happy with the result.
Tip: Test paint samples first to avoid repainting later. It’s an easy way to make the right choice.
Painting in dim light
Painting in dim light can lead to disappointing results. Poor lighting makes it hard to see the true colour of the paint and spot uneven areas. You might think the wall looks fine, but once the room is brightly lit, imperfections like streaks, missed spots, or uneven coverage become obvious.
Natural light is the best option for painting. It shows the paint’s true colour and helps you achieve an even finish. If natural light is unavailable, use bright artificial lighting. Position lamps or work lights to illuminate the walls fully. Avoid relying on a single overhead light, as it can create shadows that hide flaws.
Tip: Use daylight bulbs for artificial lighting. They mimic natural light and help you see the paint’s actual colour.
Dim light also affects your ability to match colours accurately. Paint often looks different under various lighting conditions. A colour that seems perfect in low light may appear too bright or dull in daylight. Testing paint samples in the room’s actual lighting conditions can prevent this issue.
To avoid mistakes, plan your painting project during the day. Start early to make the most of natural light. If you must paint at night, ensure the room is well-lit. Check your work frequently by stepping back and viewing the wall from different angles.
Reminder: Good lighting is essential for a professional-looking finish. It helps you spot and fix mistakes before the paint dries.
By painting in proper lighting, you can achieve a flawless result. This small adjustment ensures your hard work pays off and your walls look their best.
Getting ready properly, using good tools, and applying paint correctly are key for great interior painting. Missing these steps can cause messy walls, wasted effort, and higher expenses. Avoiding simple errors helps you get a neat and professional look for your space.
If painting feels too hard or you need advice, RNF Construction can assist. Their skilled team delivers perfect results, saving you time and trouble. Reach out to them now to improve your home easily and confidently.
-
Families across the UK Hire a Nanny through Tailored Staff UK for quality and care.

