A lot of homeowners have no idea what a professional paint job actually involves. They let you in, you do your thing, and a few days later the place looks different. Here’s what’s actually happening between those two points.
It’s a fair thing to be curious about. You’re letting people into your home, they’re moving furniture, covering things, making noise. Understanding the interior painting process from start to finish makes the whole thing less stressful, and it helps you know what to expect and when.
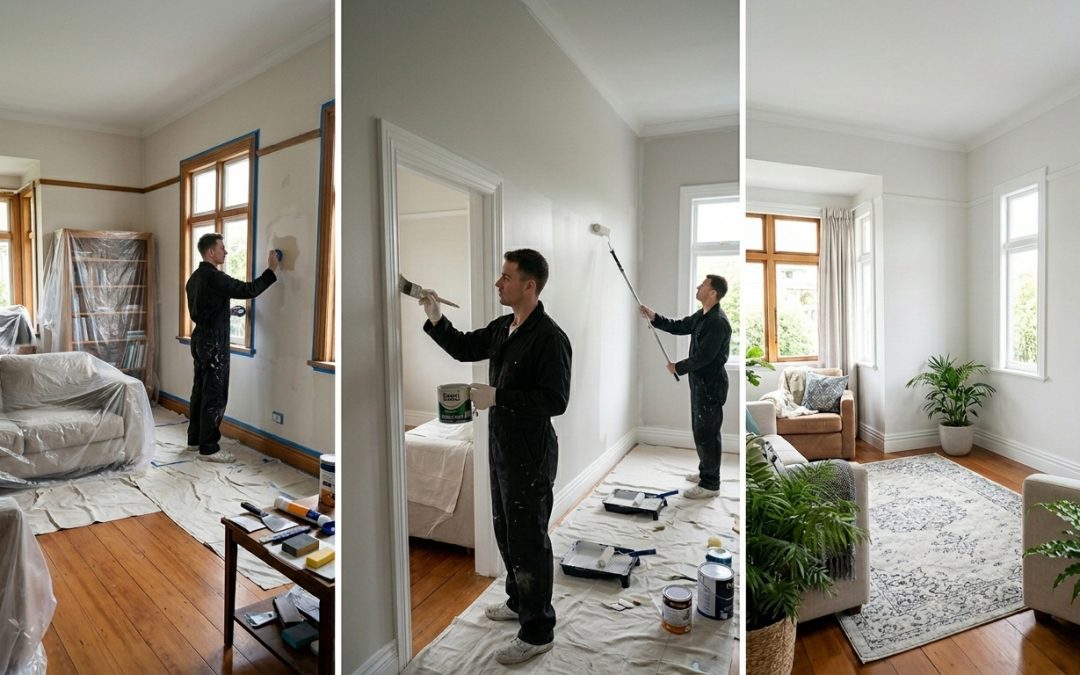
This is how a proper residential interior paint job runs, step by step. Not a glossed-over version. What actually happens.
1. The Initial Walkthrough
Before any work starts, a good painter walks the space with you. Not just a quick glance around, an actual conversation about what you’re after, what condition the walls are in, any problem areas you’ve noticed.
This is where things like existing peeling paint, cracks, water stains, or mould get flagged. It’s also where colour choices get confirmed, finish types get discussed (flat, low-sheen, semi-gloss), and any concerns get raised before they become surprises mid-job.
If a painter shows up and goes straight to work without any kind of walkthrough, that’s a yellow flag.
WHAT TO EXPECT
The walkthrough usually takes 15 to 30 minutes. Come prepared with your colour choices if you have them, and mention anything you’ve noticed about the walls, even if it seems minor. It’s easier to deal with problems at this stage than halfway through the job.
2. Furniture and Floor Protection
Everything that isn’t getting painted needs to be protected. Furniture gets moved to the centre of the room or out entirely, depending on the space. Drop sheets go down on the floors. Switches, power points, and any fixtures staying in place get masked off.
In a typical Auckland home, this can take longer than people expect, especially in rooms with a lot of furniture or built-ins. It’s not a fast step, and it shouldn’t be. Rushing it means paint on your floors or your couch.
Light fittings usually get bagged or masked. If a fitting needs to come down, that gets discussed with you first.
3. Surface Preparation
This is the biggest part of the job that people don’t see, and the one that matters most. We covered this in detail in our interior painting prep post, but in short: walls get cleaned, damage gets repaired, surfaces get sanded, and primer goes on where it needs to.
On a standard room with walls in reasonable condition, prep might take half a day. On an older Auckland villa with cracks, old wallpaper residue, or previous paint that’s lifting, it can take most of a full day before the actual painting starts.
-
- Sugar soap wash to remove grease, dust, and residue
- Fill cracks and holes with appropriate filler, let dry, sand smooth
- Sand glossy surfaces to create adhesion
- Spot prime repaired areas, or full prime where needed
- Allow primer to dry fully before topcoat
The quality of this step is what separates a finish that looks good in ten years from one that looks rough in ten months.
4. Cutting In
Cutting in is the detail work. It’s painting the edges, the corners, around the ceiling line, along the skirtings, around door frames and window reveals. Done with a brush, by hand, carefully.
This is the step that takes the most skill and the most time per square metre. A clean cut line along a ceiling or a crisp edge around a window frame is what makes a paint job look professional. A wobbly line is what makes it look amateur, no matter how good the rest of the room looks.
Good painters cut in without tape on flat surfaces because they’re faster and cleaner that way. Tape goes on anything where the risk of bleed is higher, like textured ceilings or uneven timber frames.
TRADE INSIGHT
Cutting in is done before rolling so that the wet roller can blend into the wet cut edge. If you cut in a wall, let it dry, then roll, you’ll often see a distinct line where the brush and roller met. The trick is keeping a wet edge throughout.
5. Rolling the Walls
Once the edges are cut in, the roller goes on. This is the faster part of the job, but it still requires attention. The right nap thickness for the surface texture, consistent pressure, keeping a wet edge, working in sections so the paint doesn’t dry before you overlap.
Most interior walls in Auckland homes get two coats. The first coat will often look patchy and uneven as it goes on. That’s normal. It’s laying the base. The second coat is where it comes together.
Between coats, the paint needs to dry properly. Rushing a second coat onto a wet first coat causes lifting, dragging, and an uneven finish. The drying time depends on the product, the temperature, and the ventilation in the room. In a warm, well-ventilated Auckland summer room, it might be two to three hours. In a cold, damp winter room, it could be significantly longer.
6. Ceilings and Trims
Ceilings typically get done before walls in a full repaint. This way, any drips or splatter onto the walls gets covered when the walls are painted. It’s a sequencing thing that makes the job cleaner overall.
Trims, skirtings, and door frames are usually done last, and often in a different product to the walls. Semi-gloss or gloss on trims is standard because it’s more durable and easier to wipe down. The finish difference between a flat wall and a gloss skirting is part of what gives a room a finished, intentional look.
One thing worth knowing: painting trims properly takes time. Each skirting board needs to be cut in top and bottom, and if there’s carpet, the bottom edge needs to be carefully done to avoid getting paint on the floor. It’s fiddly work and it’s where some painters cut corners.
7. Inspections and Touch-Ups
Once the final coat is dry, the room gets inspected carefully. This means going around with a torch or lamp at a low angle to catch any missed spots, thin areas, roller lines, or paint on surfaces it shouldn’t be on.
Touch-ups happen at this point, not the next day when everything’s had time to fully cure and the touch-up paint dries to a slightly different sheen. Touch-ups done wet into wet blend far better.
Any tape comes off now too. Slow and careful, pulling at a low angle to get a clean edge. Tape that’s left on too long can pull paint off with it, which is a frustrating thing to fix after everything else is done.
8. Clean-Up and Handover
Drop sheets come up, furniture goes back, masking gets removed from power points and fittings. The space gets left in the same condition it was found, just with fresh paint on the walls.
A good painter will walk you through the finished job before they leave. This is your chance to raise anything you’re not happy with while they’re still on site. It’s far easier to address a concern before the team packs up than to chase it up after the fact.
REALISTIC TIMELINE
A standard bedroom typically takes one to two days from prep to final coat. A full interior repaint of an average Auckland home, covering multiple rooms, hallways, ceilings, and trims, usually runs three to five days depending on the condition of the walls and the scope of work.
What You Should Do While the Work Is Happening
You don’t need to hover. Painters work better without someone watching every brushstroke. But a few things make the process smoother on your end:
-
- Clear out anything fragile or valuable from the rooms being painted before the team arrives
- Make sure the painters have access to a power point and somewhere to wash brushes
- Keep kids and pets out of the work area during painting and while coats are drying
- Ventilate the rooms as much as possible while paint dries, especially in cooler months
- Don’t wash the walls for at least two weeks after painting, even with water
That last one gets ignored more often than it should. Fresh paint looks dry but it’s still curing underneath. Wiping it down too early can leave marks and dull the finish.
The interior painting process isn’t complicated, but it does have a sequence, and every step matters. The reason professional results look different from DIY ones usually isn’t the paint. It’s the prep, the sequencing, and the attention to detail through each stage.
If you’re planning a repaint in your Auckland home and want to know exactly what’s involved for your specific space, we’re happy to walk through it with you.
FAQ
Q: Can I live in the house while painting is happening?
Ans: Yes. Keep children and pets out of the rooms being painted and ventilate the area well to reduce fumes.
Q: How soon can I hang pictures or décor on freshly painted walls?
Ans: Wait at least 24 to 48 hours before hanging anything so the paint has time to cure enough to hold nails or hooks without peeling. (Source: How Long Does It Take for Paint To Dry and Cure?)
Q: How long does it take to complete a room properly?
Ans: A standard room usually takes one to two days from prep to final coat to allow for cleaning, sanding, priming, cutting in, rolling, drying, and touch-ups.