
If you’re painting the inside of an Auckland home, the best results come from thorough prep, the right paint finish for each room, and timing the job around Auckland’s humidity. For most homeowners, the difference between a smooth, durable finish and peeling or patchy walls is not the final coat; it’s what happens before the paint goes on.
This guide is written for Auckland homeowners who want a practical, room-by-room understanding of the interior painting process, common local problems, likely costs, and how to choose finishes and colours that actually work in New Zealand light.
What is the best way to approach interior painting in an Auckland home?
Start with surface prep, moisture control, and paint selection suited to the room. In Auckland, interior painting is less about rushing to colour and more about managing older surfaces, damp-prone areas, and changing indoor humidity.
A smart approach looks like this:
- Inspect walls, ceilings, trims, and windows first
- Fix peeling, cracks, stains, and minor damage before painting
- Clean surfaces properly, especially kitchens and bathrooms
- Choose the right finish for each room
- Allow longer drying times in humid conditions
- Plan around how much of the home needs to stay usable
Key takeaway: In Auckland homes, prep and drying conditions matter as much as the paint itself.
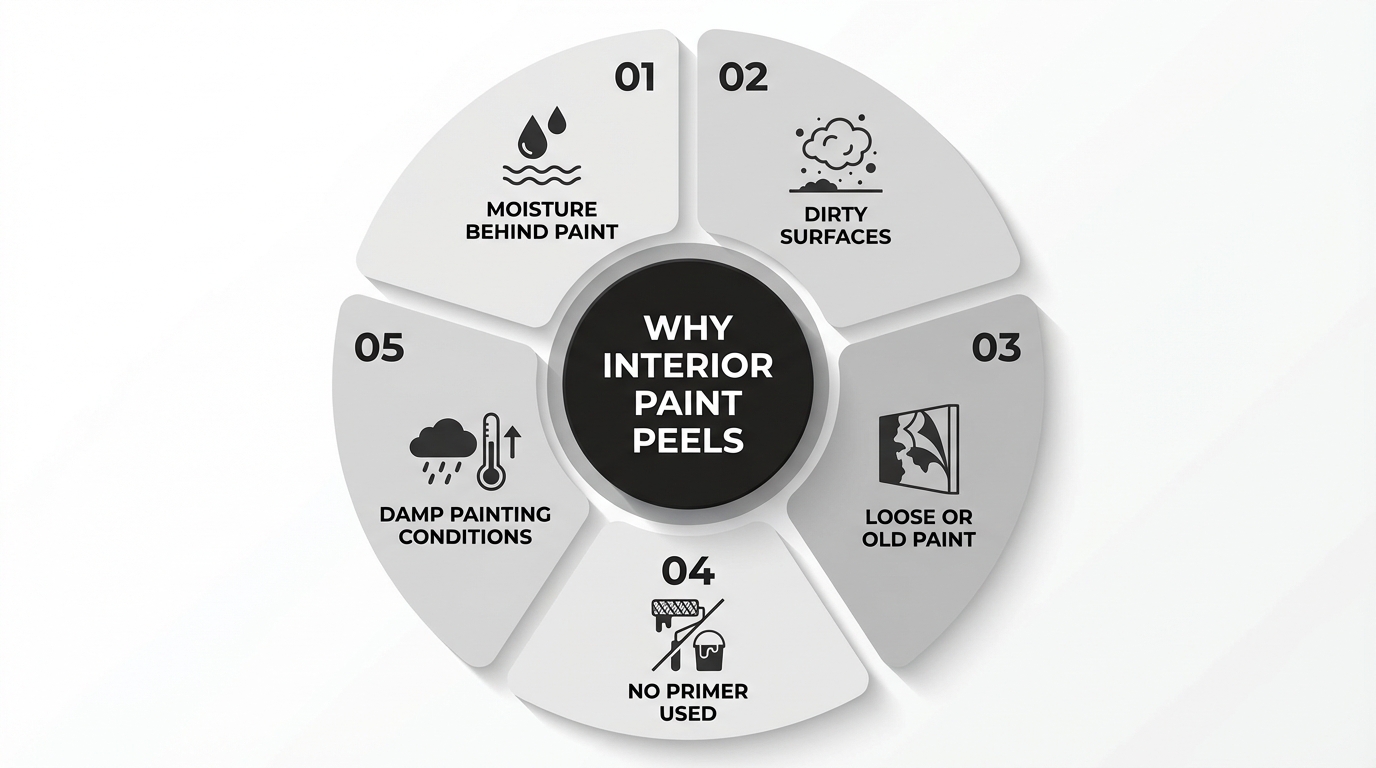
Why does interior paint peel? Common causes in Auckland homes
Interior paint usually peels because the surface wasn’t properly prepared, moisture is present, or the new paint isn’t compatible with the old coating. In Auckland, humidity and condensation make this even more common.
The most common causes of peeling paint indoors
Moisture behind the paint
- Common in bathrooms, laundries, bedrooms with poor ventilation, and external-facing walls
Painting over dirty surfaces
- Grease, sugar soap residue, dust, and cooking oils stop paint from bonding
Loose or chalky old paint
- New coats won’t hold if the base layer is already failing
No primer where one was needed
- Especially on patched plaster, stained areas, bare timber, or repaired gib
Painting too soon in damp conditions
- Humidity slows curing and weakens adhesion
What should you do if the paint is already peeling?
Remove all loose paint, fix the underlying cause, then repaint properly. Spot-painting over active peeling rarely lasts.
That usually means:
- Scrape back loose edges
- Sand the area smooth
- Check for leaks or condensation issues
- Seal with a suitable primer
- Repaint with compatible topcoats
What prep work does interior painting actually need?
Good prep includes more than laying down drop sheets and taping edges. The prep work most homeowners underestimate is usually what determines how professional the finish looks.
The interior painting prep work nobody tells you about
Before painting begins, a proper job may include:
- Moving and covering furniture
- Removing wall hooks, vent covers, switch plates, and curtain hardware
- Washing walls to remove dust, grease, smoke residue, and hand marks
- Filling dents, cracks, and small holes
- Sanding patched areas so they disappear after painting
- Spot-priming repairs and stains
- Caulking trim gaps
- Testing suspect areas for flaking or moisture issues
Key takeaway: If the wall looks rough before painting, paint will usually make it more visible, not less.
Interior painting process step-by-step: what actually happens in your home?
A standard interior painting job follows a predictable sequence: protect, prep, prime, paint, dry, and reassemble. Knowing the order helps homeowners plan around access, mess, and drying time.
Typical step-by-step process
| Step | What happens | Why it matters |
| 1. Setup | Floors and furniture covered, fittings protected | Reduces dust and accidental splatter |
| 2. Surface prep | Cleaning, filling, sanding, scraping | Creates a smooth, stable base |
| 3. Priming | Repairs, stains, bare areas sealed | Improves adhesion and finish consistency |
| 4. Cutting in | Edges, corners, and trim lines painted first | Creates clean transitions |
| 5. Rolling coats | Main wall or ceiling areas coated | Builds even colour and coverage |
| 6. Drying time | Coats left to dry before recoating | Prevents dragging and patchiness |
| 7. Final detail work | Touch-ups, trims, reinstallation | Finishes the room properly |
For a lived-in home, painters often work room by room to minimise disruption.
How much does interior painting cost in Auckland? 2026 breakdown
Interior painting costs in Auckland vary based on surface condition, access, room size, ceiling height, and the amount of prep needed. Homes with peeling paint, water stains, older plaster, or heavy repair work cost more than clean, modern interiors.
Typical cost factors
Pricing usually depends on:
- Number of rooms
- Wall and ceiling condition
- Trim, doors, and skirting included or not
- Empty home vs occupied home
- Level of patching and sanding
- Premium paint selections
- Bathroom and kitchen moisture-resistant coatings
General 2026 Auckland pricing guide
| Project type | Estimated range |
| Single bedroom | $800–$1,800 |
| Living room | $1,500–$3,500 |
| Full interior repaint (small home) | $6,000–$12,000+ |
| Full interior repaint (larger family home) | $12,000–$25,000+ |
These are broad planning ranges, not fixed quotes. The biggest pricing variable is prep work.
Low sheen vs gloss interior paint: which finish hides imperfections best?
Low sheen usually hides wall imperfections better than gloss. Gloss and semi-gloss reflect more light, so dents, patches, and uneven surfaces are easier to see.
Best uses for each finish
Low sheen
- Best for living rooms, bedrooms, hallways
- Better at softening minor wall flaws
- More forgiving in older Auckland homes
Gloss or semi-gloss
- Best for trims, doors, skirtings, and high-touch areas
- Easier to wipe clean
- Highlights imperfections more clearly
Key takeaway: If your walls are not perfectly smooth, a low-sheen finish is usually the safer choice.
What interior paint colours work best in Auckland’s natural light?
Colours that work in Auckland homes are usually the ones that stay balanced under changing daylight, cloud cover, and strong window light. A shade that looks warm in the store can turn grey or flat at home.
Colours that tend to perform well
- Warm whites for south-facing or shaded rooms
- Soft greiges and light taupes for flexible living spaces
- Muted greens and blue-greys where natural light is strong
- Off-whites instead of stark white in older homes
Test colours at different times of day:
- Morning light
- Late afternoon light
- Overcast weather
- Artificial evening lighting
In Auckland, this matters because light conditions can shift quickly.
Can you live at home while the interior is painted? The honest reality
Yes, in many cases you can stay home during interior painting, but it depends on the size of the job, ventilation, and your tolerance for disruption. A single room is manageable. A full interior repaint is much harder.
What to expect if you stay in the home
- Furniture may need to be moved frequently
- Some rooms may be unusable for a day or more
- There will be dust from sanding and patching
- Paint smell can linger, even with low-odour products
- Children, pets, and work-from-home routines may be affected
If bathrooms, kitchens, or bedrooms are being painted at the same time, temporary relocation may be easier.
How long does interior paint take to dry in Auckland’s humidity?
Interior paint may feel dry within a few hours, but in Auckland’s humidity, it often takes longer to recoat and much longer to fully cure. Dry-to-touch and fully hardened are not the same thing.
Realistic drying expectations
- Touch dry: often 1–4 hours
- Recoat: often 2–6+ hours depending on product and airflow
- Full cure: can take days to weeks
Humidity slows drying, especially in:
- Bathrooms
- South-facing rooms
- Homes with poor airflow
- Winter or rainy periods
Key takeaway: Always follow the product’s recoat time, but expect Auckland humidity to extend the schedule.
FAQ
Do I need to wash walls before interior painting?
Yes. Dust, grease, and residue can stop paint from adhering properly, especially in kitchens, hallways, and around light switches.
Is one coat of interior paint enough?
Usually not. Most repaints need two coats for even colour, durability, and proper coverage, especially over repairs or colour changes.
What rooms should be painted first?
Usually ceilings first, then walls, then trims and doors. For whole-home projects, painters often start with less-used rooms to reduce disruption.