Renovation Painting Worst Mistakes to Avoid in Wellington’s Climate (2026 Proven Guide)
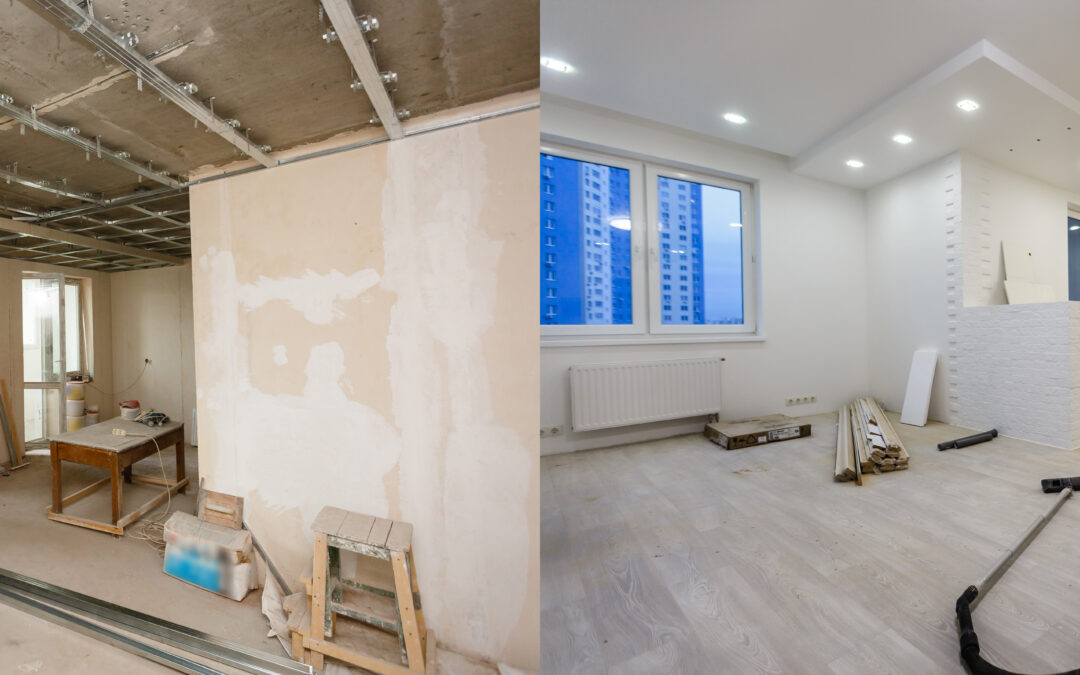
If you’ve ever embarked on Renovation Painting (or even just tried to paint a single room) in Wellington, you already know the city has a personality. One minute it’s calm, the next it’s sideways rain, salt air, and a wind that seems to find every tiny gap in your weatherboards.
That’s exactly why painting mistakes in Wellington tend to show up faster and uglier than they do in calmer climates. A job that looks perfect on day one can start peeling, bubbling, or staining within months if the prep, products, and timing don’t match local conditions.
In this 2026 guide, we’ll walk through the most common renovation painting mistakes we see in Wellington homes, why they happen, and how to avoid them so your paintwork actually lasts.
Why Wellington painting jobs fail faster (and what to do about it)
Wellington’s climate is a combination of three things that punish paint: wind, moisture, and salt. Wind drives moisture into cracks and under loose paint edges. Moisture slows curing and encourages mould. Salt air accelerates corrosion on metal and can interfere with adhesion if surfaces are not properly washed.
That doesn’t mean you can’t get an amazing result here. It just means “normal painting advice” from generic blogs is not enough. In Wellington, the winning formula is the right prep, the right products from reliable sources like RNF Construction, and the right window of weather, then following a consistent system from start to finish.
Mistake #1: Painting over damp surfaces (even if they look dry)
This is one of the biggest renovation painting errors we see, especially on exteriors and in older villas. A surface can look dry but still hold moisture in timber, plaster, or previously painted layers. When you paint over it, moisture tries to escape and you get bubbling, blistering, or peeling. Sometimes it appears as patchy sheen changes that make the finish look uneven.
In Wellington, “dry enough” is a higher standard than most people expect because wind-driven rain and high humidity can keep substrates damp longer, especially on shaded elevations.
The fix is simple but requires patience. Let surfaces dry properly, use a moisture meter when needed, and plan work around actual drying conditions, not just the forecast.
Mistake #2: Skipping the wash-down (especially near the coast)
Salt, grime, and chalky residue are invisible deal-breakers. If you prime and paint without removing them, you’re basically asking paint to stick to contamination instead of to the surface. The result is premature failure: flaking, patchy adhesion, and edges lifting.
Coastal Wellington suburbs and exposed ridgelines are especially vulnerable. Even inland homes can build up airborne pollutants that affect adhesion.
A proper wash-down is not a “nice to have”. It’s part of the system. In practical terms, that means detergent wash or appropriate chemical wash, thorough rinse, and allowing full dry time before any sanding, priming, or topcoats.
Mistake #3: Poor sanding and feathering, which creates visible edges later
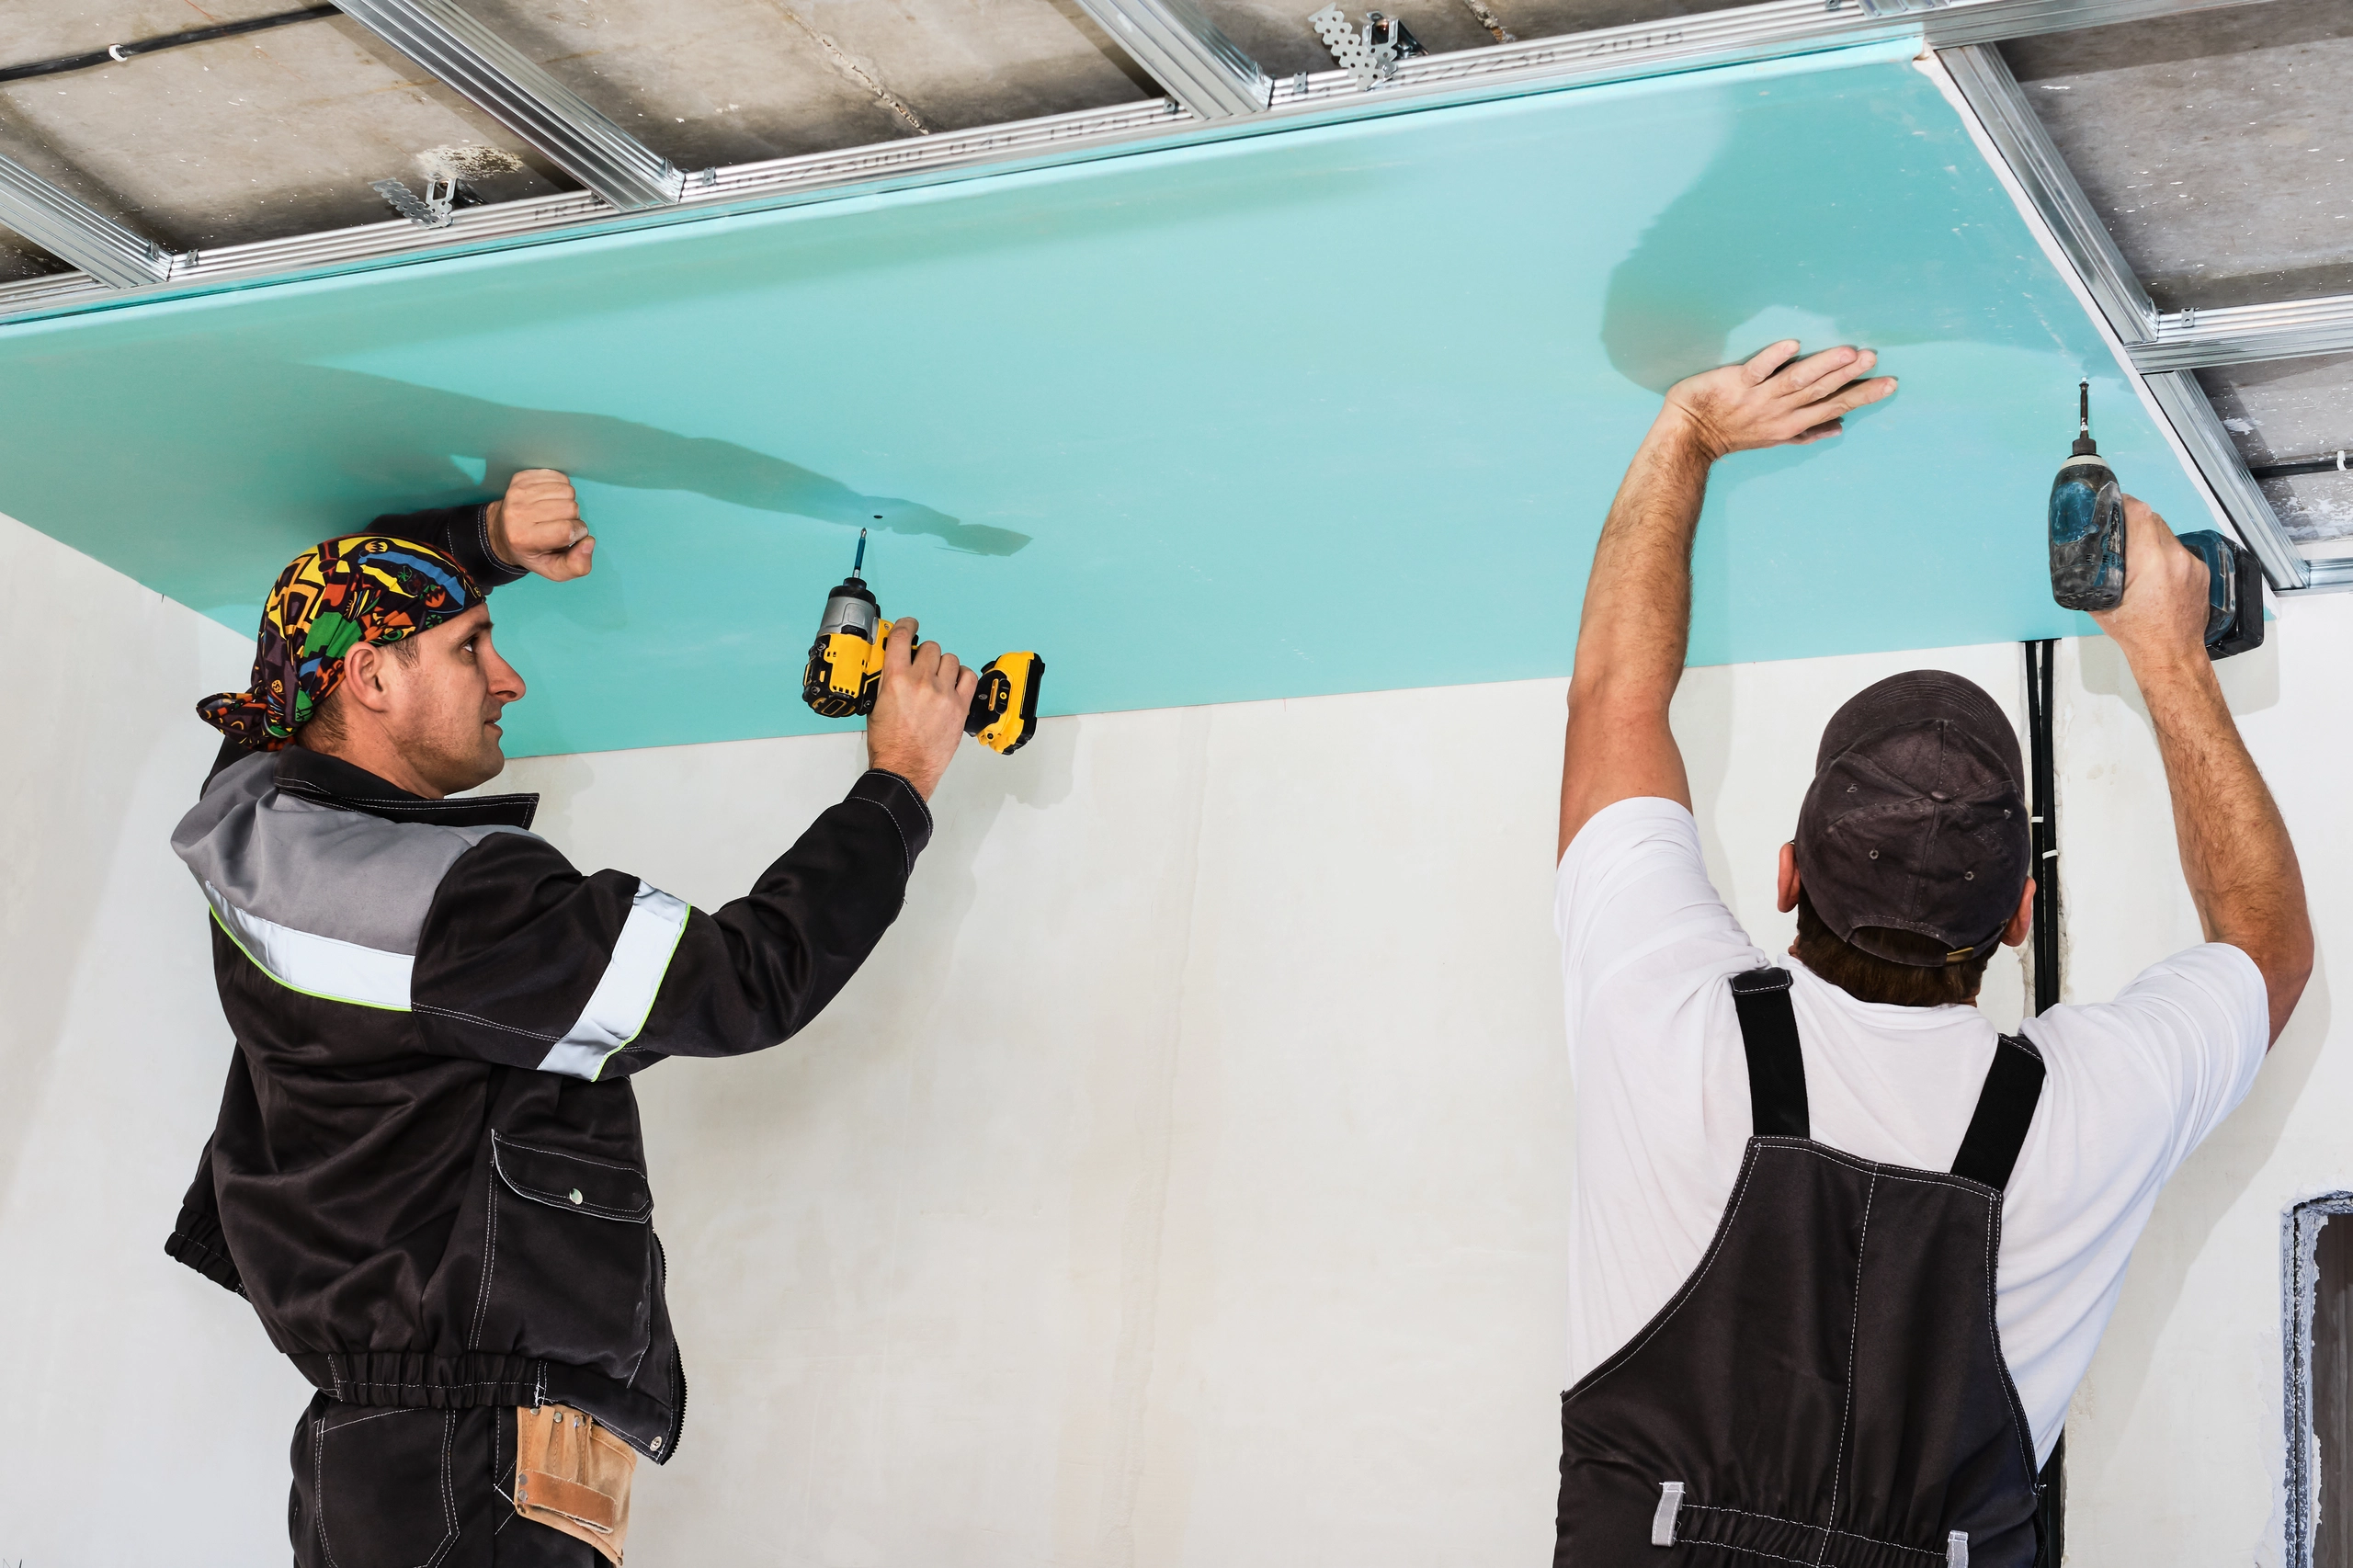
Renovations often involve repairs: patched weatherboards, filled cracks, new plaster, replaced trims. If old paint edges aren’t feathered correctly, they telegraph through the final finish once the light hits the wall at an angle. In Wellington, strong natural light and changing skies make these flaws more noticeable.
A rushed sand job also reduces adhesion. Paint likes a clean, slightly keyed surface. Glossy surfaces, flaking edges, and old chalk need proper preparation or your new coating becomes a temporary skin.
If you want that “it looks like a new house” finish, most of the work is prep, not the final coat.
Mistake #4: Using interior paint in high-moisture areas (bathrooms, laundries, kitchens)
Renovations often reconfigure bathrooms and laundries, and people paint them like any other room. Then mould shows up, or the paint softens and marks easily around towel rails, showers, and poorly ventilated corners.
Wellington’s humidity makes this worse. Even a well-used bathroom fan can struggle on colder days when condensation builds quickly.
Use the right system: mould-resistant prep (where needed), correct primers on repaired substrates, and a durable, washable topcoat suited for wet areas. And if ventilation is weak, upgrading extraction is just as important as the paint itself.
Mistake #5: Painting new plaster too soon (or not sealing it properly)
Fresh plaster and new gib stopping is common in renovations. The issue is that new plaster behaves differently to old painted surfaces. It can be powdery, porous, and still curing even when it looks “done”.
Two common failures happen here. First, paint gets absorbed unevenly and you end up with flashing (patchy sheen differences). Second, adhesion suffers because the substrate wasn’t sealed correctly.
The best practice is to allow proper cure time, then use the correct sealer/primer designed for new plaster before applying topcoats. It’s a small step that makes the final finish look even and professional.
Mistake #6: Not spot-priming repairs and stains
In renovation painting, you often have a mix of old paint, bare timber, fillers, and stained areas. If you roll straight over everything with a “one size fits all” approach, you’ll see it later.
Common offenders in Wellington homes include:
- Water stains from old leaks
- Tannin bleed from timber
- Rust marks around nails and fixings
- Smoke or cooking residue in older interiors
These need targeted primers or stain blockers, not just another coat of standard wall paint. Otherwise, the stains return through the new finish and the room never looks truly refreshed.
Mistake #7: Ignoring windy-day application problems
Wellington wind doesn’t just make ladders risky. It changes how paint behaves mid-application. Wind can cause paint to dry too fast on the surface, leading to lap marks, poor levelling, and weak film formation. On exteriors, it can also blow dust and debris into wet paint.
This is why timing matters. You want conditions where the coating can level and cure properly. In Wellington, that often means being selective about which sides of the house you paint on a given day, and using a plan instead of trying to “push through” the weather.
Mistake #8: Painting in the wrong temperature window (cold nights, warm days)
A sneaky Wellington issue is temperature swing. You might paint in a mild afternoon, then the temperature drops overnight. Some coatings struggle to cure properly if nights are too cold or humidity spikes, which can lead to soft paint, reduced durability, or condensation issues.
Always check the product data sheets for minimum application temperatures and recoat windows. If you’re not sure, this is one of those times where a professional system helps because it’s built around sequencing work safely in real conditions.
For those considering painting their windows as part of their renovation project, it’s important to understand the specific painting and staining information related to different materials like wood or vinyl.
Mistake #9: Choosing the wrong sheen level for Wellington wear-and-tear
Sheen is not just aesthetics. It affects durability, cleanability, and how imperfections show.
In busy Wellington households, low-sheen looks great but can mark easily in hallways and kids’ rooms. Full gloss hides nothing on walls and can make patching obvious, especially in raking light. Bathrooms and kitchens often need more washable finishes than people expect.
A good renovation plan chooses sheen by room function, wall condition, and how much natural light will expose flaws. Done right, your home looks better and stays easier to maintain.
Mistake #10: Underestimating how much prep old timber needs (villas, bungalows, weatherboards)
Wellington has a lot of character homes, and many of them have layers of older paint. That can mean brittle coatings, micro-cracks, and uneven surfaces. If you simply paint over old layers without stabilising them, you get cracking and peeling sooner than you should.
Depending on condition, this can involve proper scraping, sanding, spot priming, gap filling, and sometimes more intensive solutions such as chemical stripping on problem areas. The goal is not perfection at any cost. The goal is a sound base that can handle Wellington’s wind, moisture, and sun cycles.
Mistake #11: Not protecting metal properly (rust is faster near the sea)
Railings, roof flashings, nail heads, brackets, and exterior fixings are common rust points. In salt air, corrosion accelerates, and once rust starts bleeding through paint, it’s hard to hide.
The mistake is thinking “paint will seal it”. You need proper rust treatment: remove loose rust, use the appropriate rust-inhibiting primer, then topcoat with compatible exterior-grade paint. Skipping steps here often means redoing the same areas again and again.
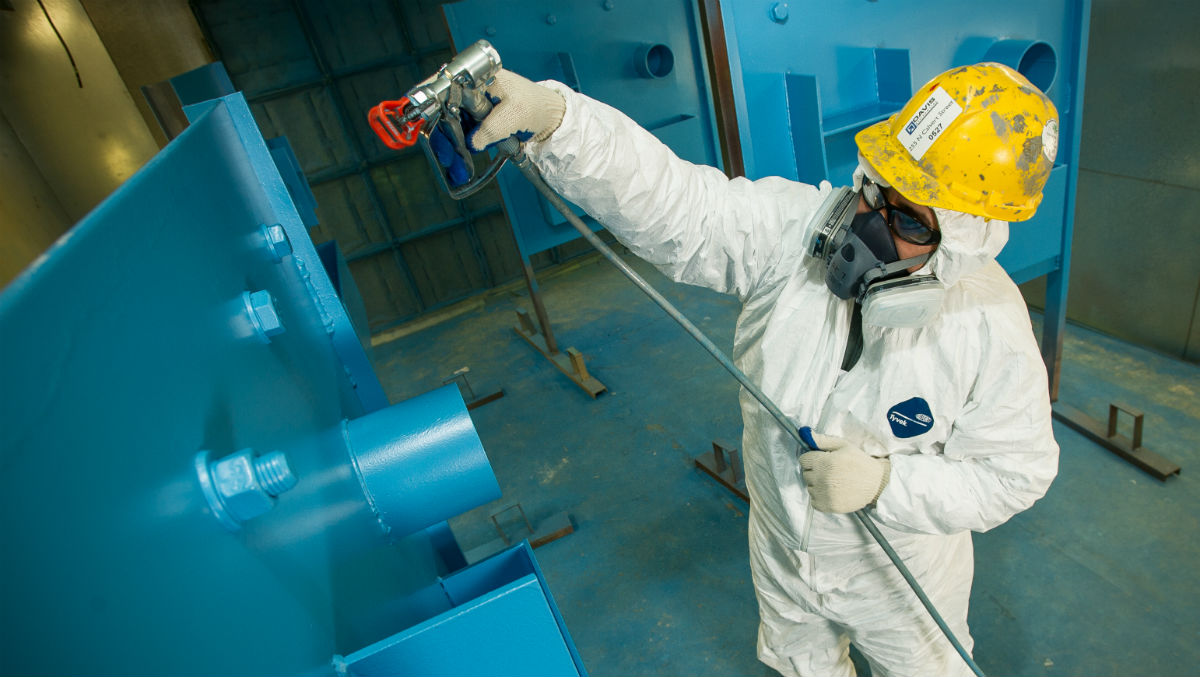
Mistake #12: Cutting corners on primer because “the topcoat says it’s self-priming”
This is where marketing labels create expensive repaints. Some paints can act as self-priming in limited situations, but renovations are rarely a single uniform surface. They’re a patchwork of old coatings, repairs, porous areas, and stains.
Primer is not just about adhesion. It’s about sealing, blocking, bonding, and creating a consistent base so your topcoat performs evenly. In Wellington conditions, that extra layer often makes the difference between a 3-year problem and a 10-year finish.
Mistake #13: Not planning the job sequence (so dust, trades, and touch-ups never end)
Renovation painting goes wrong when it’s treated as the “final quick job” after everything else, without a plan. Then sanding dust settles on fresh paint. New fixtures scratch walls. Electricians cut in last-minute work. Suddenly your “finished” paint needs constant patching.
A smoother sequence usually means: repairs and plastering, full prep and sanding, prime, first coat, install and fit-off carefully, final coat, then a proper walkthrough and touch-up window.
This is also where having a dedicated project manager makes a real difference, because someone needs to coordinate timing, access, and quality control.
Mistake #14: Not allowing proper cure time before washing or putting furniture back
Paint can feel dry quickly but still be curing underneath. If you scrub it too soon or push furniture against it, you can leave marks that never truly disappear. In Wellington humidity, cure time can stretch longer than people expect.
The practical approach is to treat freshly painted rooms gently for the first couple of weeks. Use light contact, avoid harsh cleaners, and let airflow help curing, without blasting cold damp air into the space.
Mistake #15: Not doing a final walkthrough (so small defects become long-term annoyances)
Tiny misses are normal in any big renovation. What matters is catching them before the job is signed off. We see people skip inspection, then notice holidays (thin spots), rough nibs, or uneven cut-ins later when the light changes.
A proper final walkthrough is one of the simplest ways to make sure you’re genuinely happy with the finished look. It’s also the moment to confirm edges, trims, doors, and high-visibility areas are crisp and consistent.
A quick “do this instead” checklist for Wellington renovation painting

You don’t need to overcomplicate it, but you do need a system. If you want a simple way to avoid most of the mistakes above, focus on these fundamentals:
- Wash and fully dry surfaces before any prep or paint
- Sand and feather edges so repairs disappear in raking light
- Prime properly, especially on repairs, stains, bare timber, and new plaster
- Use wet-area products where moisture is constant
- Paint to conditions: avoid damp substrates, extreme wind, and cold night curing issues
- Plan sequencing so other trades do not damage finished paint
- Finish with a detailed walkthrough, then complete touch-ups promptly
Ready to get it done properly (without repainting in two years)?
If you’re renovating in Wellington and you want the paintwork to hold up to wind, moisture, and salt air, we can help. At RNF Construction, we don’t rely on guesswork. We run proven prep and application systems, assign a dedicated project manager, and finish with a detailed walkthrough, then back it all with a satisfaction and touch-up guarantee.
If you’d like, we’ll jump on a quick call, talk through your renovation plan, help with colours and finishes, and give you a clear quote with realistic timelines.
Get in touch with us at RNF Construction and let’s paint it once, properly.
FAQs
1) What’s the best time of year to paint a house in Wellington?
Late spring to early autumn is usually best, but it depends on wind, humidity, and overnight temperatures. The safest approach is choosing stable weather windows, not just a season.
2) Why is my paint bubbling after renovation?
Bubbling is often moisture trapped under the coating, painting over damp surfaces, or poor adhesion due to salt, dust, or chalky residue. Proper wash-down, drying time, and priming usually prevent it.
3) How long should new plaster cure before painting?
It depends on thickness, ventilation, and humidity, but new plaster should be properly cured and then sealed with the correct primer/sealer. Painting too early often causes flashing and weak adhesion.
4) Do I really need primer if the paint says “self-priming”?
In renovations, yes in most cases. You’re usually painting a mix of repairs, porous surfaces, stains, and older coatings. Primer creates a consistent base that improves adhesion and finish durability.
5) What paint finish is best for Wellington bathrooms?
A moisture-resistant system matters more than just sheen. Typically you want the right primer plus a durable, washable topcoat designed for wet areas to resist mould and frequent cleaning.
6) How can I stop mould coming back through paint?
Paint alone won’t fix the cause. Clean and treat mould properly, use mould-resistant products where suitable, and improve ventilation. Without airflow and moisture control, mould often returns.
7) Why does my exterior paint peel near the coast?
Salt contamination, wind-driven rain, and poor surface prep are common causes. A thorough wash-down, correct primers, and compatible exterior coatings are key to long-lasting coastal performance.
8) How long should I wait before washing newly painted walls?
Even if walls feel dry, paint can take longer to cure, especially in humid Wellington weather. Wait at least a couple of weeks before scrubbing, and use gentle cleaners to avoid burnishing.